Disclaimer

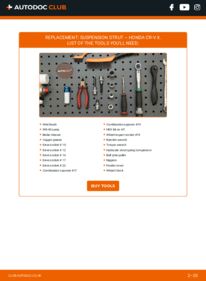
How to change front suspension strut on Honda CR-V II – replacement guide
downloads:
15
Views:
147
Important!
This replacement procedure can be used for:
HONDA CR-V II (RD_) 2.0, HONDA CR-V II (RD_) 2.0 (RD5) … View more
The steps may slightly vary depending on the car design.
HONDA CR-V II (RD_) 2.0, HONDA CR-V II (RD_) 2.0 (RD5) … View more
The steps may slightly vary depending on the car design.
How to change front shock absorbers on HONDA CR-V 2 TUTORIAL | AUTODOC

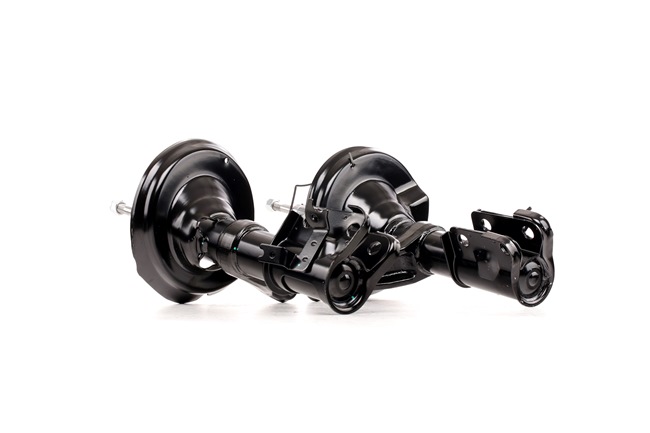
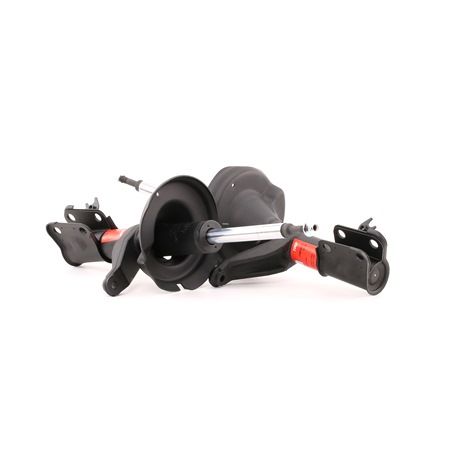
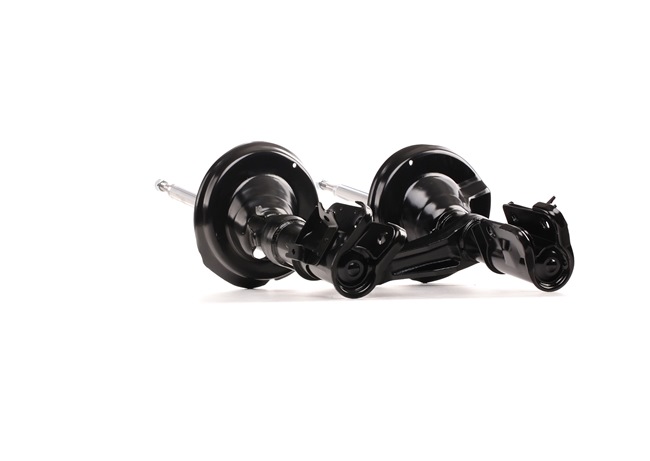
All the parts you need to replace – Shock Absorber for CR-V II (RD_) and other HONDA models
Alternative products
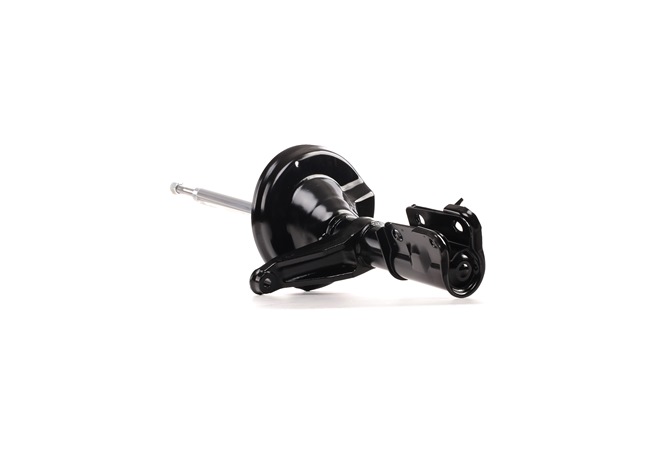
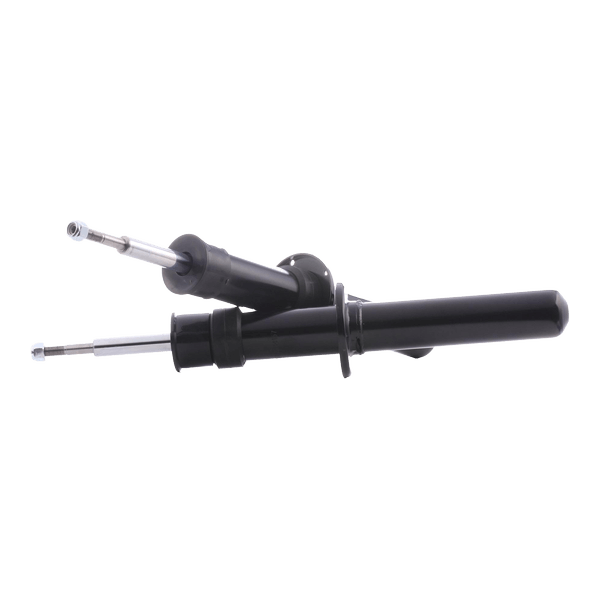 Shock absorber


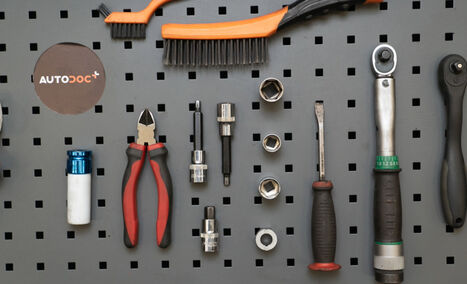
Wire brush
WD-40 spray
Brake cleaner
Copper grease
Drive socket # 10
Drive socket # 12
Drive socket # 14
Drive socket # 17
Drive socket # 22
Combination spanner #17
Combination spanner #19
HEX bit no.H7.
Wheel impact socket #19
Ratchet wrench
Torque wrench
Hydraulic strut spring compressor
Ball joint puller
Nippers
Fender cover
Wheel chock

Replacement: suspension strut – Honda CR-V II. Tip from AUTODOC:
- Both shock struts of the front suspension should be replaced simultaneously.
- The replacement procedure is identical for the left and right shock struts of the front suspension.
- Please note: all work on the car – Honda CR-V II – should be done with the engine switched off.
Carry out replacement in the following order:
- Step 1
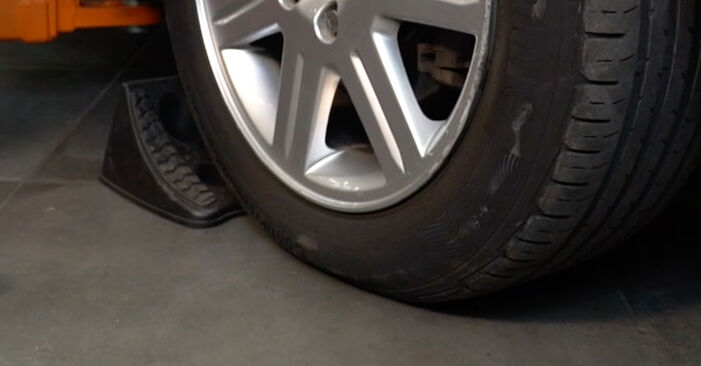 Secure the wheels with chocks.
 - Step 2
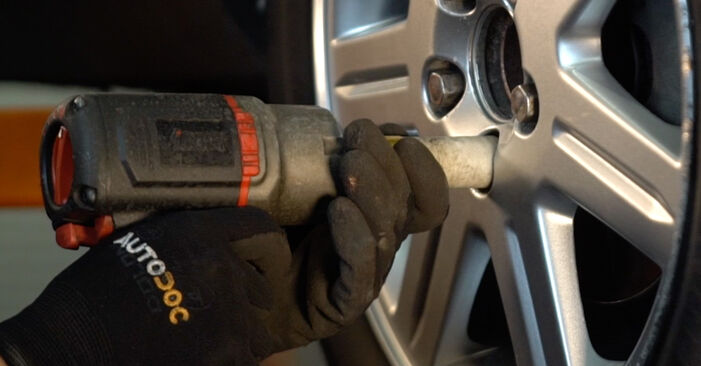
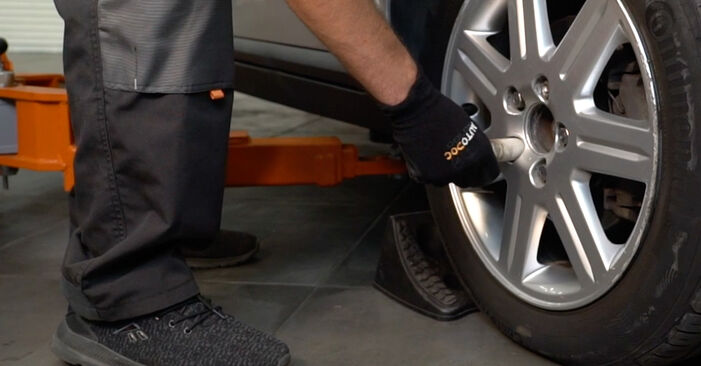 Loosen the wheel mounting bolts. Use wheel impact socket #19.
 - Step 3
 Raise the front of the car and secure on supports.
 - Step 4
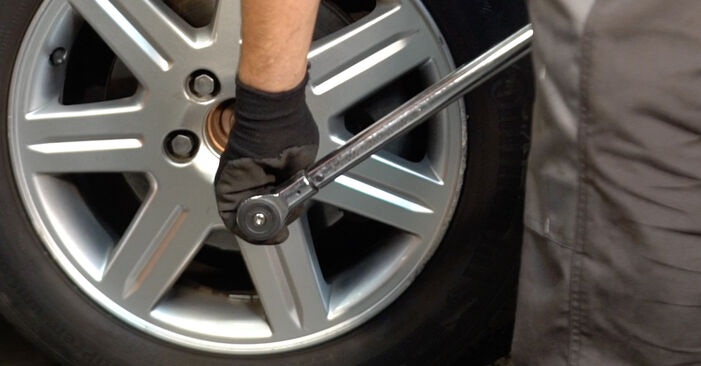
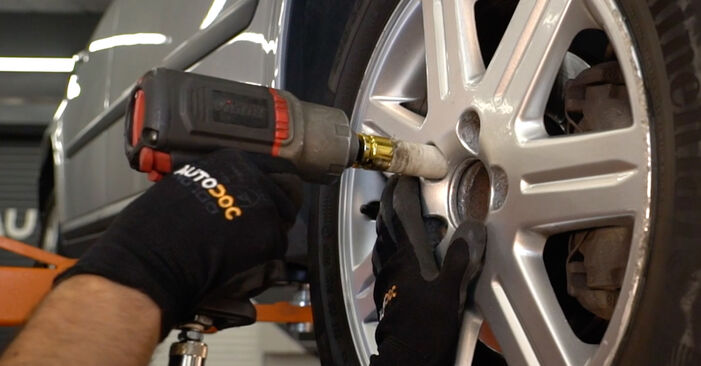 Unscrew the wheel bolts.AUTODOC recommends:Warning! To avoid injury, hold the wheel while unscrewing the fastening bolts. Honda CR-V II
 - Step 5
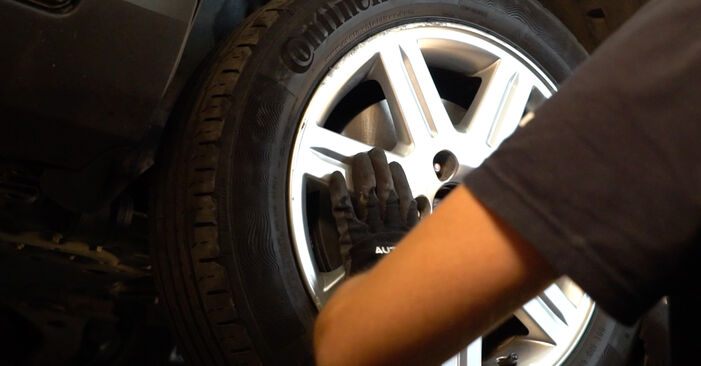
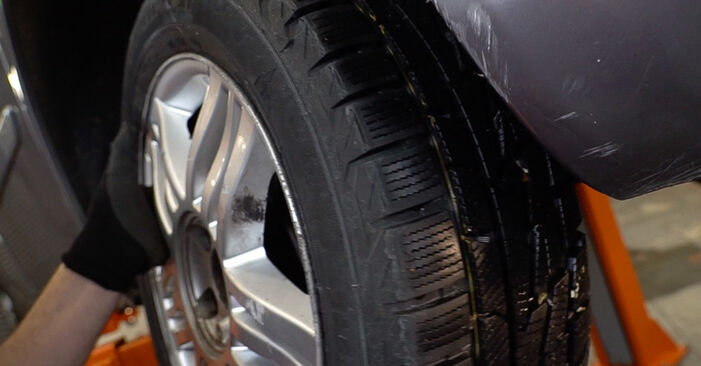 Remove the wheel.
 - Step 6
 Remove the cotter pin. Use nippers.
 - Step 7
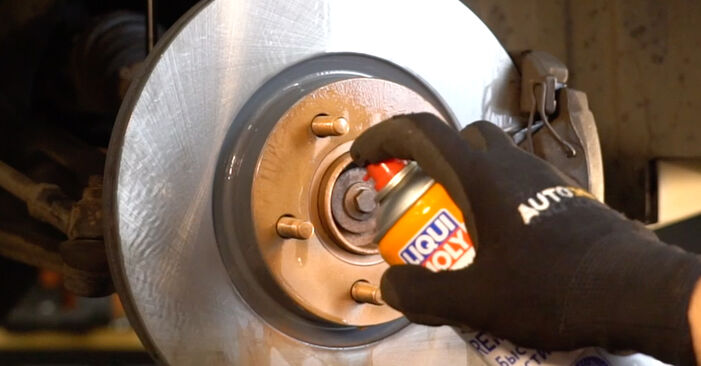
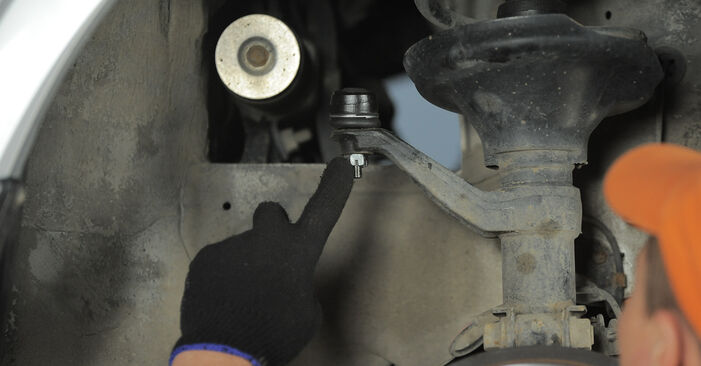 Clean the fastener connecting the tie rod end to the steering knuckle. Use a wire brush. Use WD-40 spray.
 - Step 8
 Unscrew the end fastening nut to the steering knuckle. Use a drive socket #17. Use a ratchet wrench.
 - Step 9
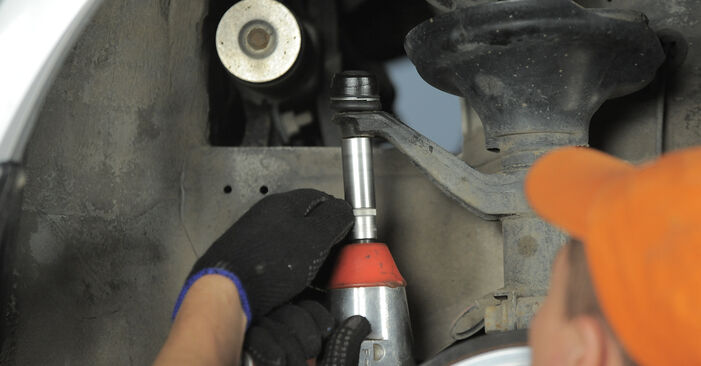
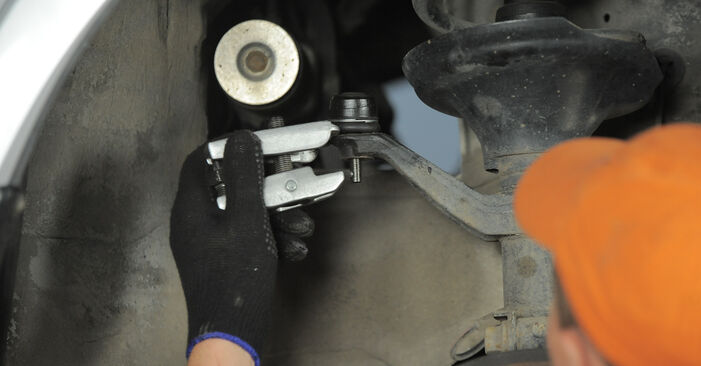 Disconnect the tie rod end from the steering knuckle. Use a ball joint puller.
 - Step 10
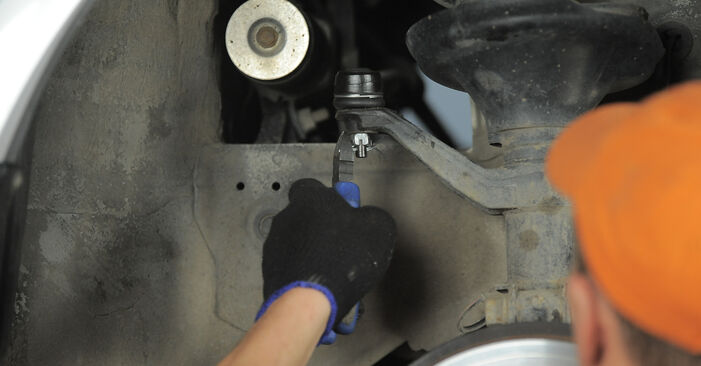
 Unscrew the ABS cable holder. Use a drive socket #10. Use a ratchet wrench.
 - Step 11
 Remove the ABS wiring harness bracket.
 - Step 12
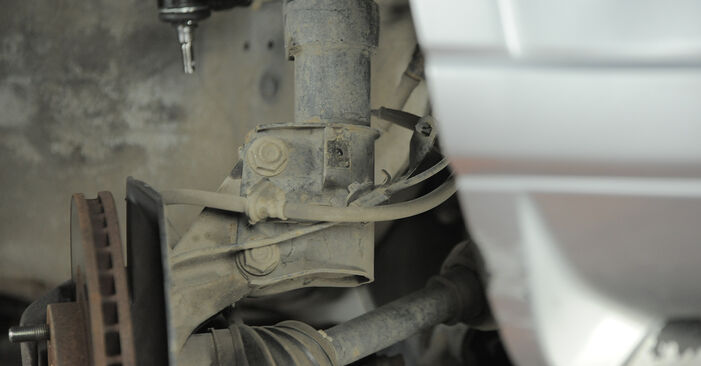
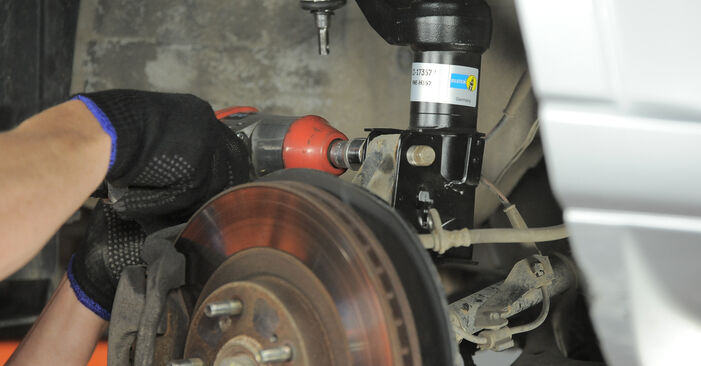
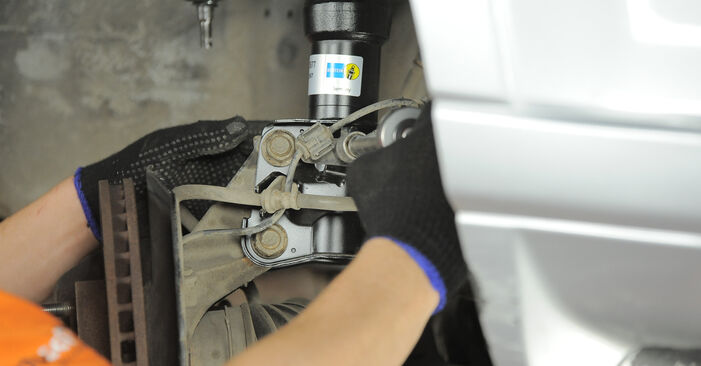
 Unscrew the brake hose fastening bracket from the shock strut. Use a drive socket #12. Use a ratchet wrench.
 - Step 13
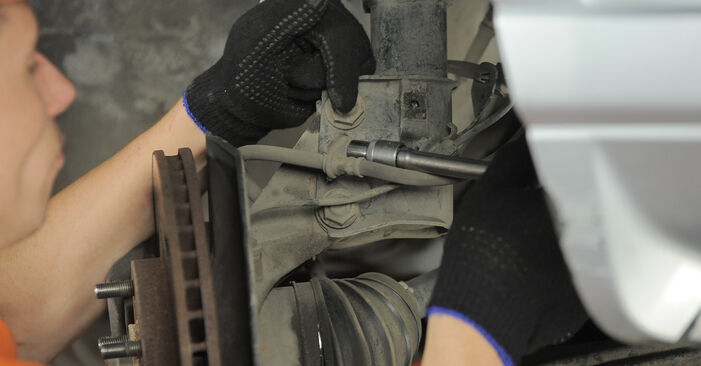
 Remove the bracket from the shock absorber strut.
 - Step 14
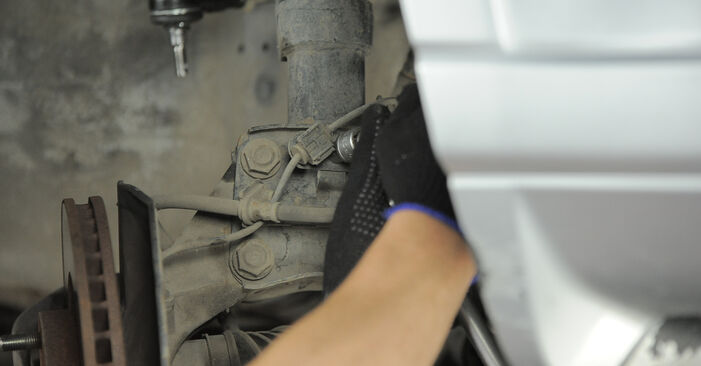
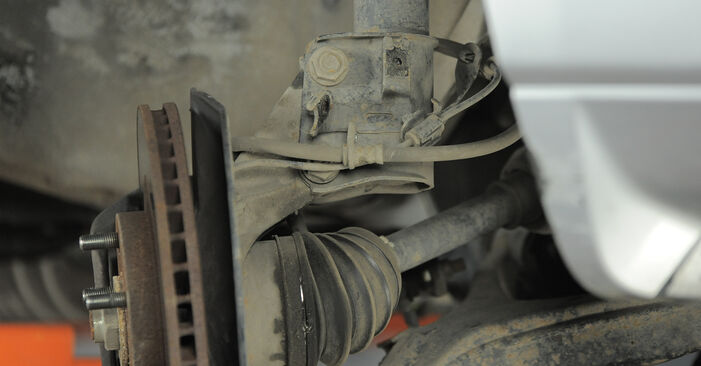
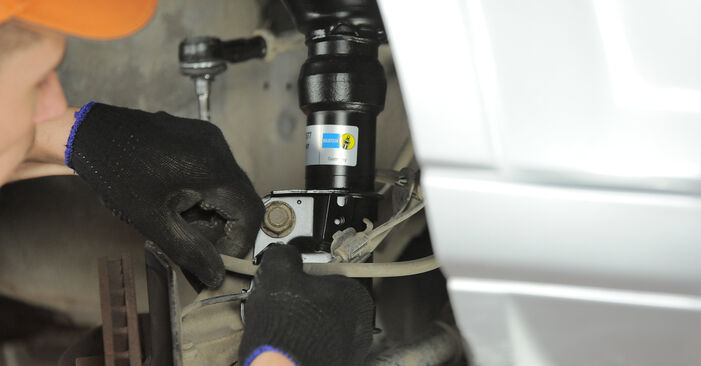
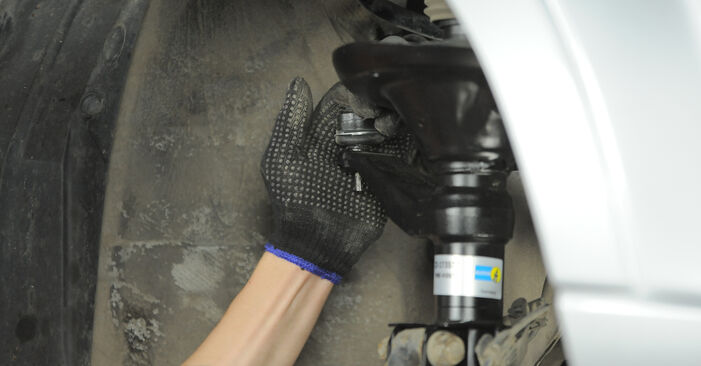
 Clean the fasteners connecting the shock strut to the steering knuckle. Use a wire brush. Use WD-40 spray.
 - Step 15
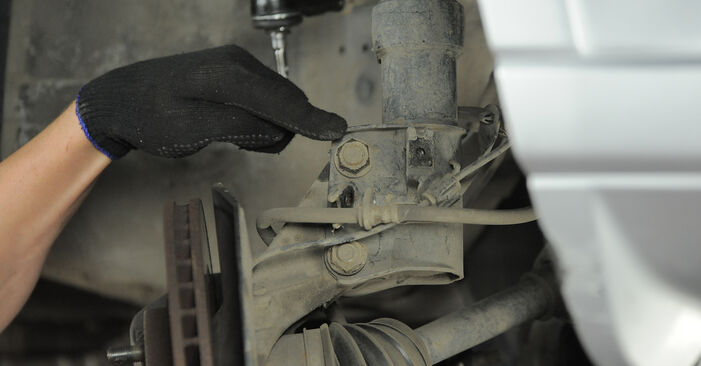
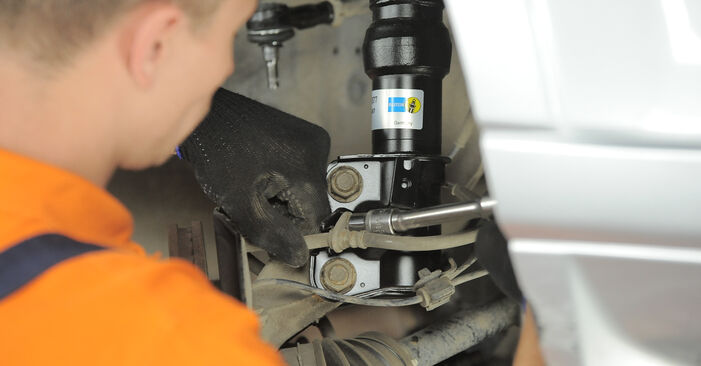
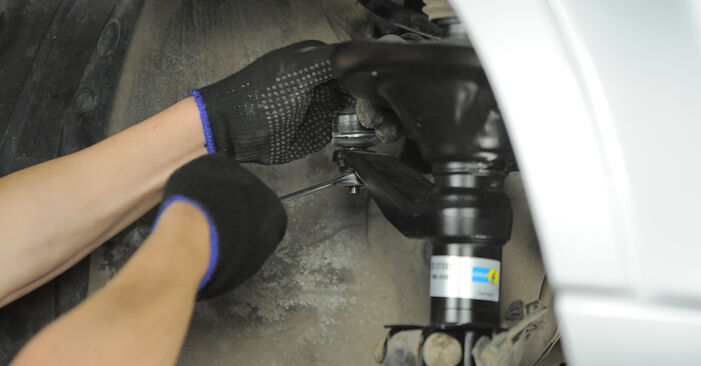
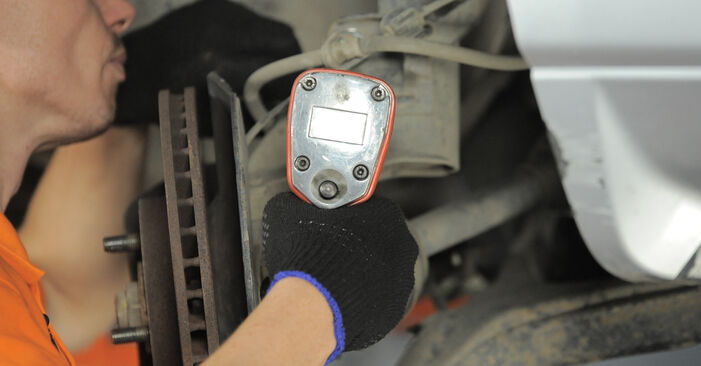 Unscrew the lower fastener connecting the shock strut to the steering knuckle. Use a combination spanner #19. Use a drive socket #22. Use a ratchet wrench.
 - Step 16
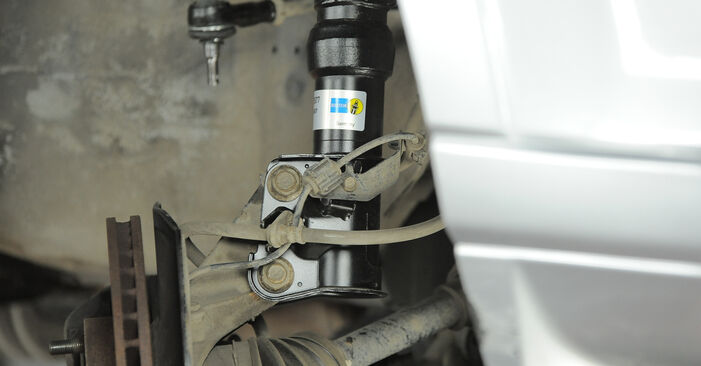
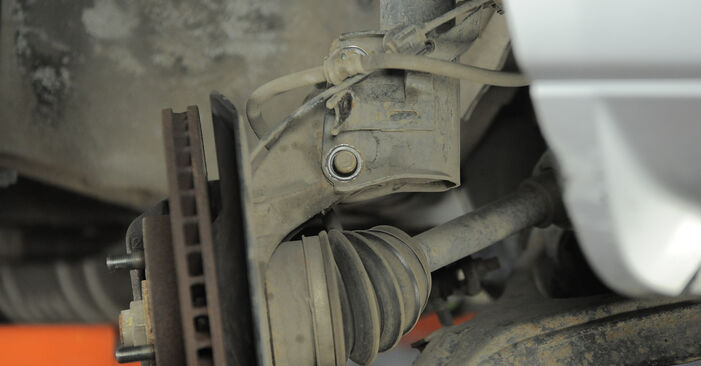 Remove the fastening bolts (2 pieces).
 - Step 17
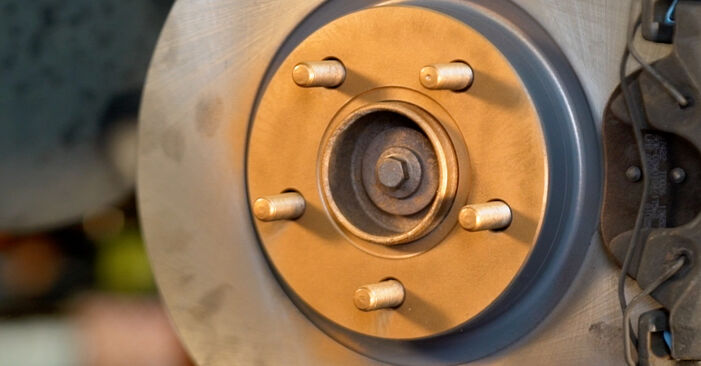
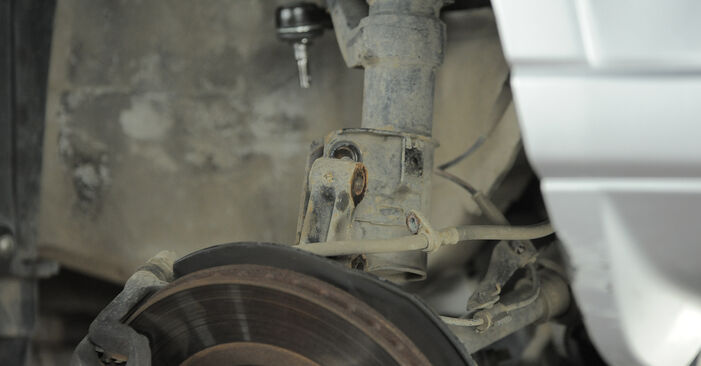 Disconnect the steering knuckle from the shock absorber strut.
 - Step 18
 Lower the car.
 - Step 19
 Open the bonnet.
 - Step 20
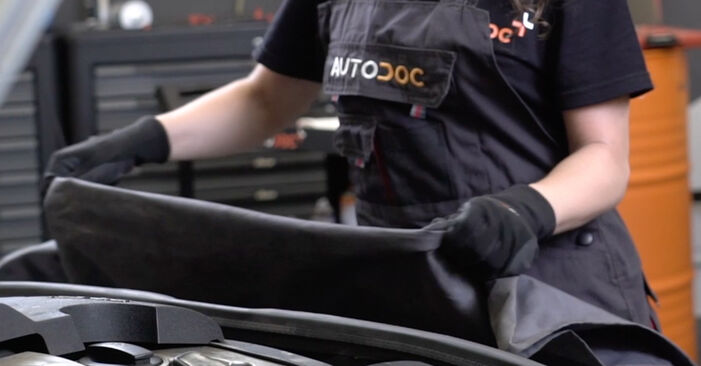
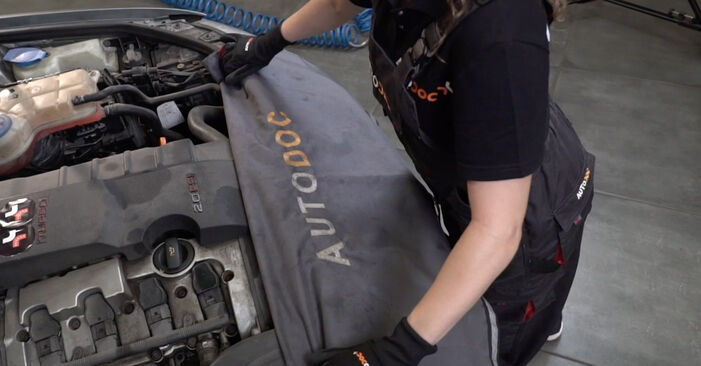 Use a fender protection cover to prevent damaging paintwork and plastic parts of the car.
 - Step 21
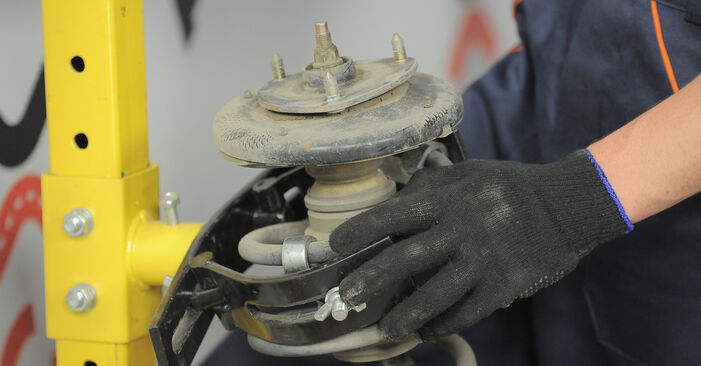
 Clean the fasteners of the shock strut upper mount. Use a wire brush. Use WD-40 spray.
 - Step 22
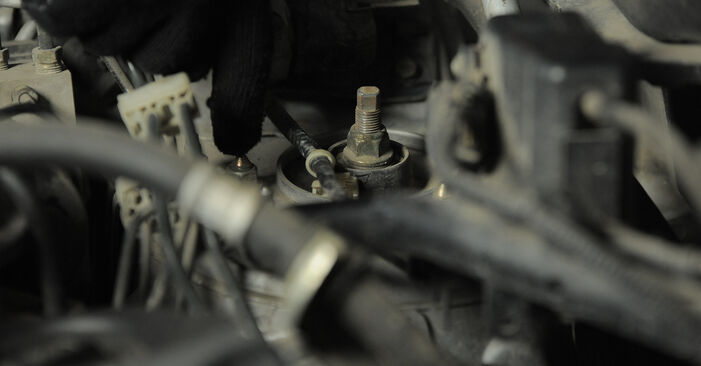
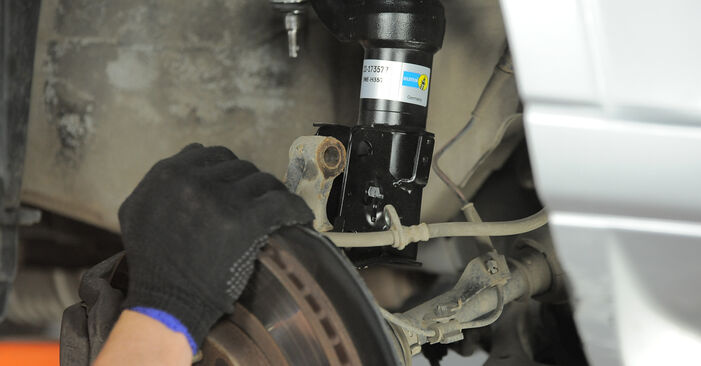
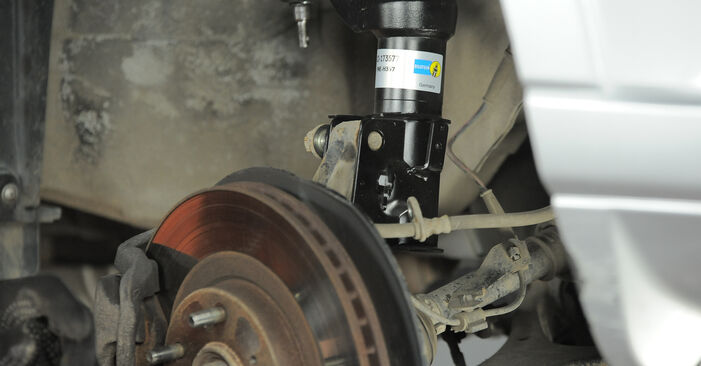
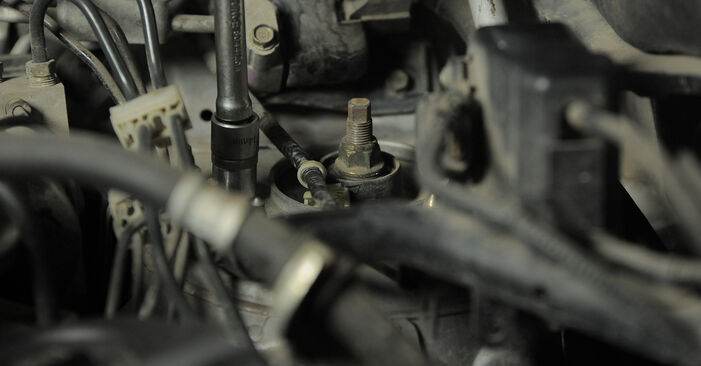 Unscrew the top fastening of the shock strut mount. Use a drive socket #14. Use a ratchet wrench.AUTODOC recommends:Important! Hold the suspension strut while unscrewing the fastening bolts. Honda CR-V II
 - Step 23
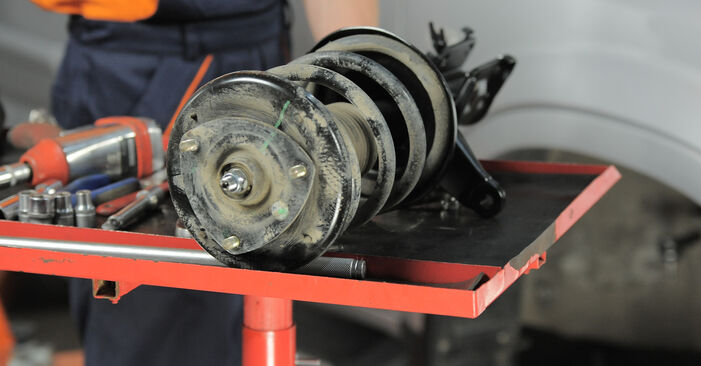
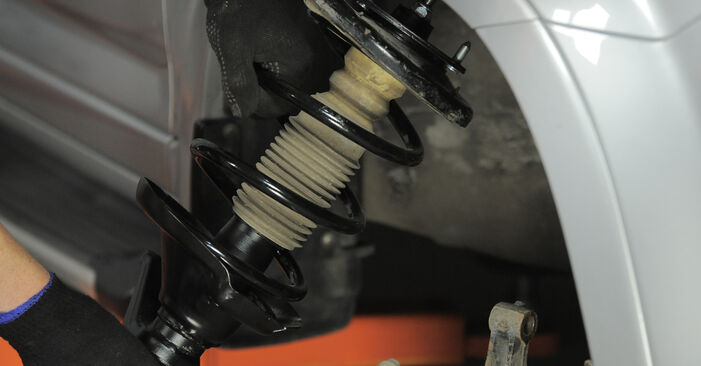
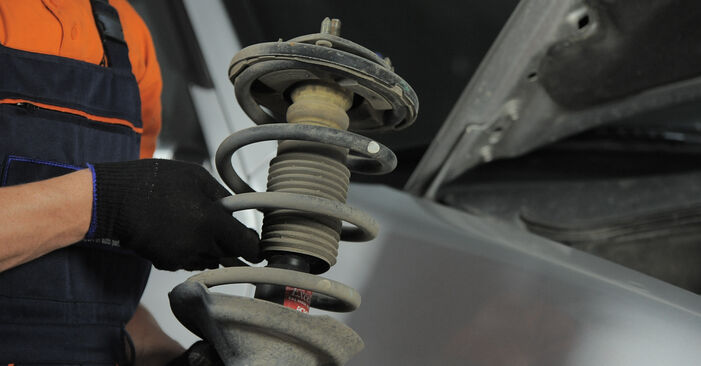 Remove the suspension strut.
 - Step 24
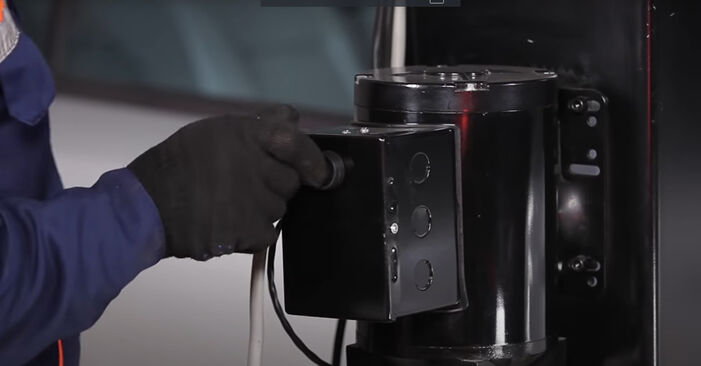
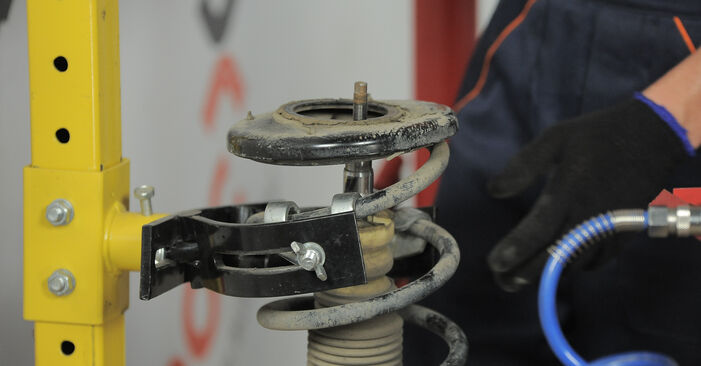
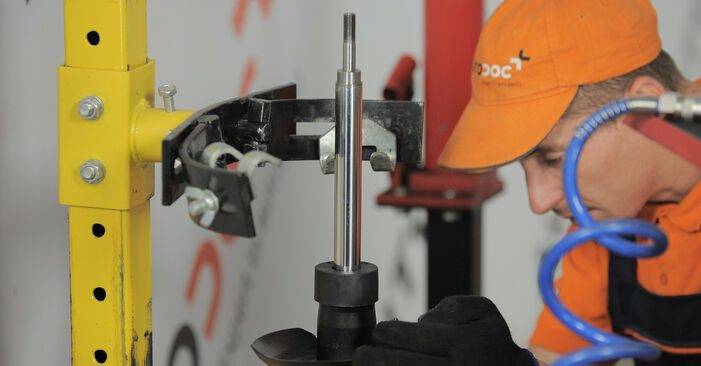
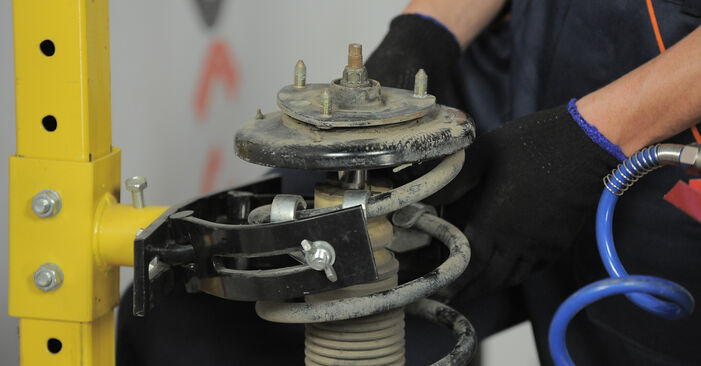
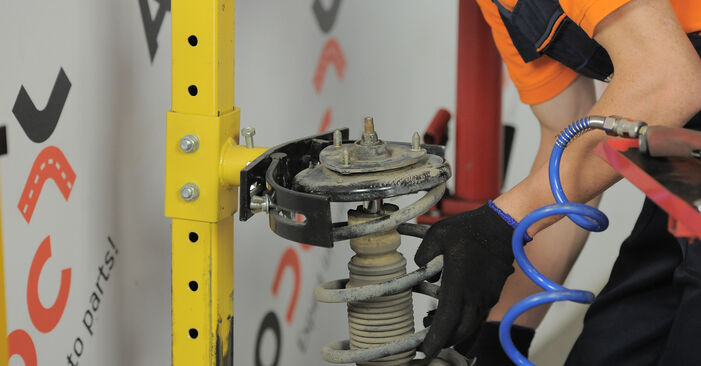 Set the shock absorber strut on the spring compressor tool.AUTODOC recommends:Note that when using a spring compressor, spring coils need to be securely gripped, compressing the spring on the opposite sides.Ensure the correct position of the spring in the retainer.Make sure that the spring coils tightly entered the lock handles.
 - Step 25
 Compress the spring.
 - Step 26
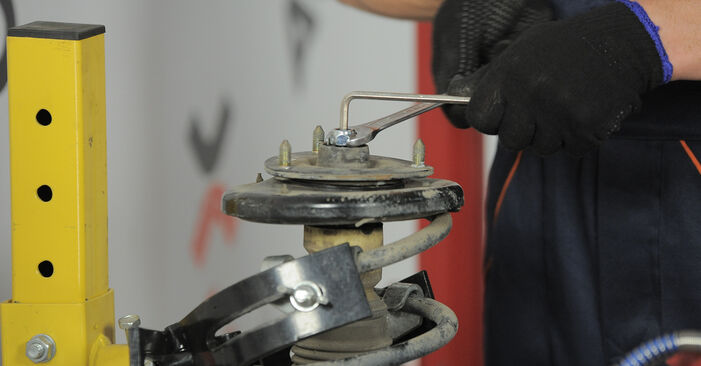
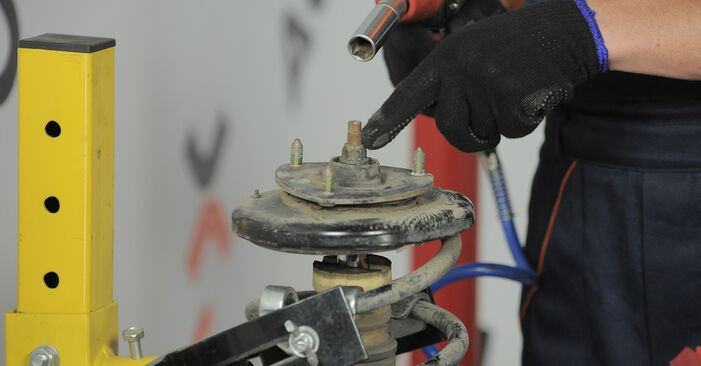 Treat the shock strut rod. Use a wire brush. Use WD-40 spray.
 - Step 27
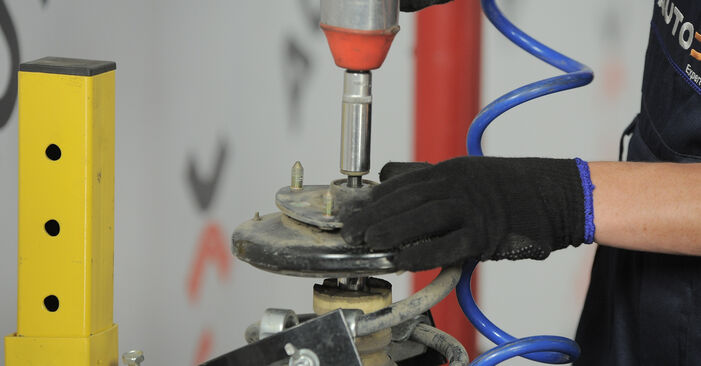 Remove the strut piston rod nut. Use a drive socket #17. Use a ratchet wrench.
 - Step 28
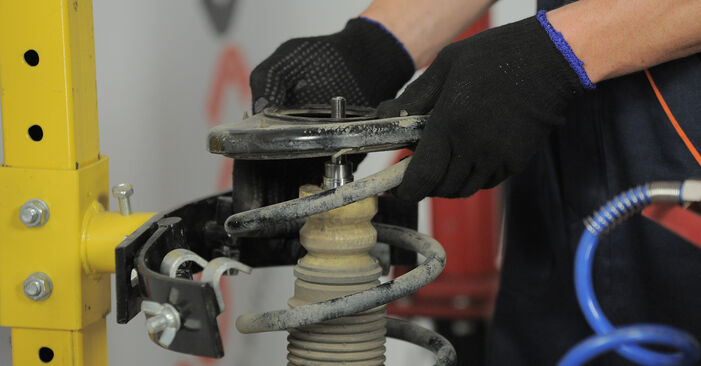
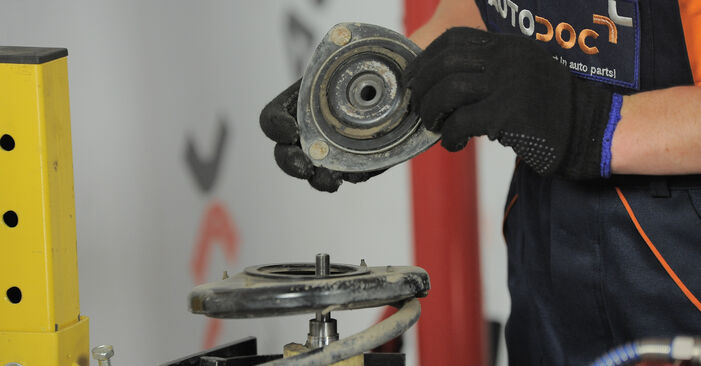
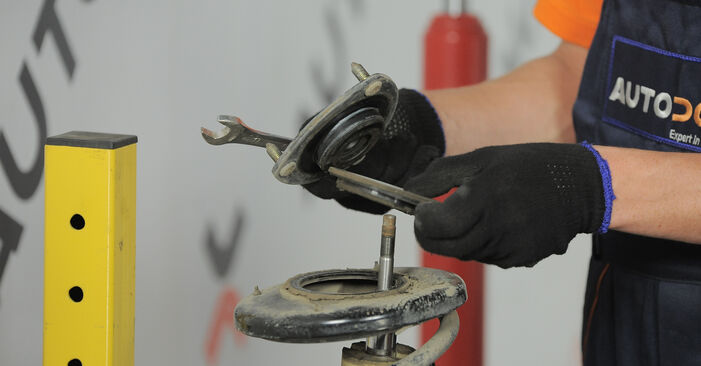 Remove the top strut mount.
 - Step 29
 Release the coil spring.
 - Step 30
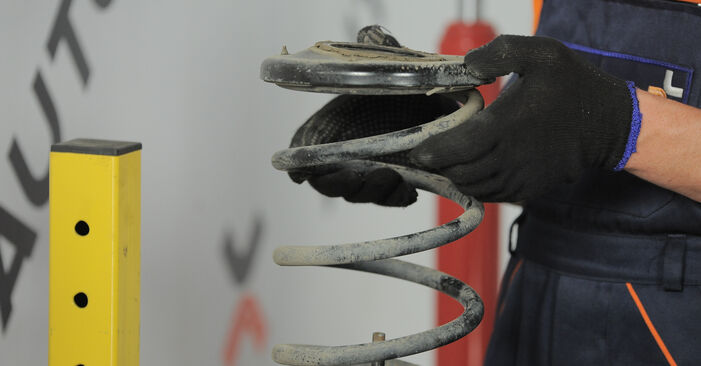 Remove the spring.
 - Step 31
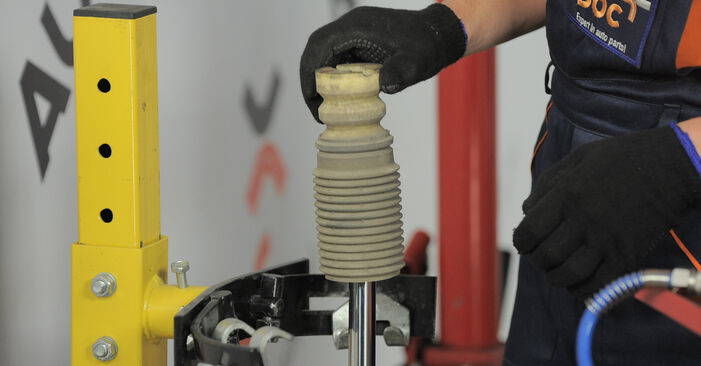
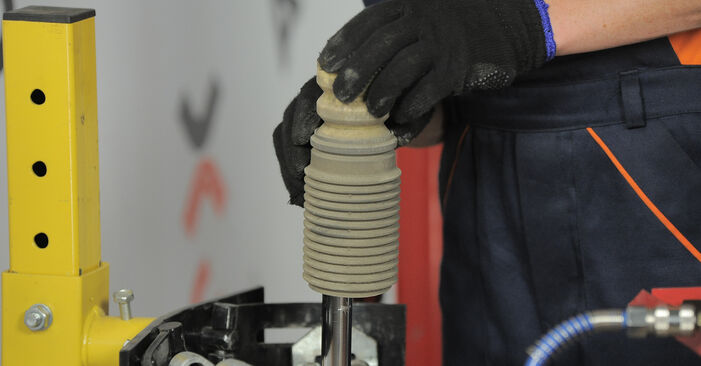 Remove the shock absorber dust cap and the bump stop.
 - Step 32
 Remove the old shock absorber from the hydraulic coil spring compressor.AUTODOC recommends:Replacement: suspension strut – Honda CR-V II. Carefully inspect the mount, the boot, and the bump stop of the shock absorber. Replace if necessary.Before installing a new shock absorber you should pump it manually 3-5 times.
 - Step 33
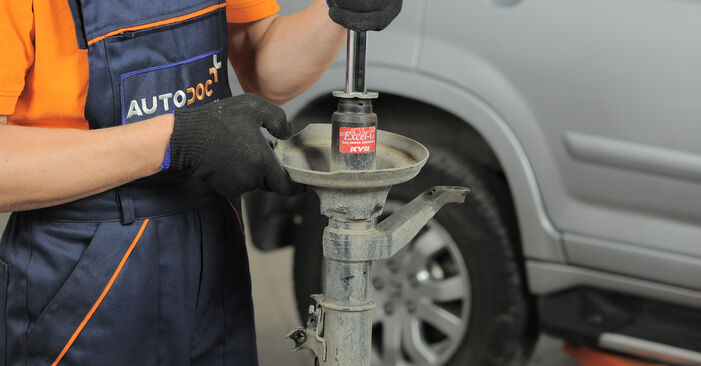
 Install the new shock absorber on the hydraulic coil spring compressor.
 - Step 34
 Install the dust sleeve and the bump stop on the new shock absorber.
 - Step 35
 Install the spring on the shock absorber.
 - Step 36
 Install the upper strut mount and the strut mount bearing.
 - Step 37
 Compress the spring.
 - Step 38
 Tighten the shock strut piston rod nut. Use a combination spanner #17. Use HEX No.H7. Use a torque wrench. Tighten it to 44 Nm torque.Replacement: suspension strut – Honda CR-V II. Tip from AUTODOC:Check to make sure the spring is positioned correctly. Avoid its misalignment.


Was this manual helpful?
Please rate this manual on a scale from 1 to 5. If you have any questions, feel free to ask us.
Users voted – 0
Need New Tyres?
Find out which tyre and wheel sizes are compatible with the HONDA CR-V II (RD) model

Popular maintenance tutorials for Honda CR-V Mk2
 Free download PDF
 2.54 MB
 Free download PDF2.55 MB
 Free download PDF3.17 MB
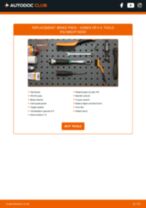 Free download PDF1.52 MB
 Free download PDF1.71 MB
 Free download PDF2.2 MB
Complete guides for changing the Shock absorbers on different HONDA CR-V models
- Free download PDF2.54 MB
 Free download PDF1.53 MB
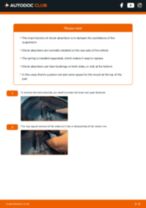 Free download PDF1.07 MB
 Free download PDF1.91 MB
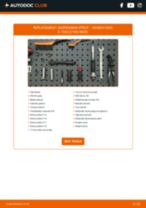 Free download PDF3.22 MB
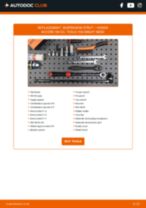 Free download PDF3.46 MB
Unlock your car maintenance assistant!
Track expenses, manage logs, schedule replacements, and more.
Tips & tricks for your HONDA CR-V II (RD_)
View more
 Easy Steps to Fix Minor Scratches on Your Vehicle | AUTODOC tips
 How to Fix a Squealing Belt: Causes & Solutions | AUTODOC Expert Tips
 How to unlock your car without a key | AUTODOC tips
 Regain Your Confidence on the Road: Easy Headlight Restoration Tips
Most commonly replaced car parts on HONDA CR-V


Time to replace parts? Get even better deals in our Shop app.

SCAN ME