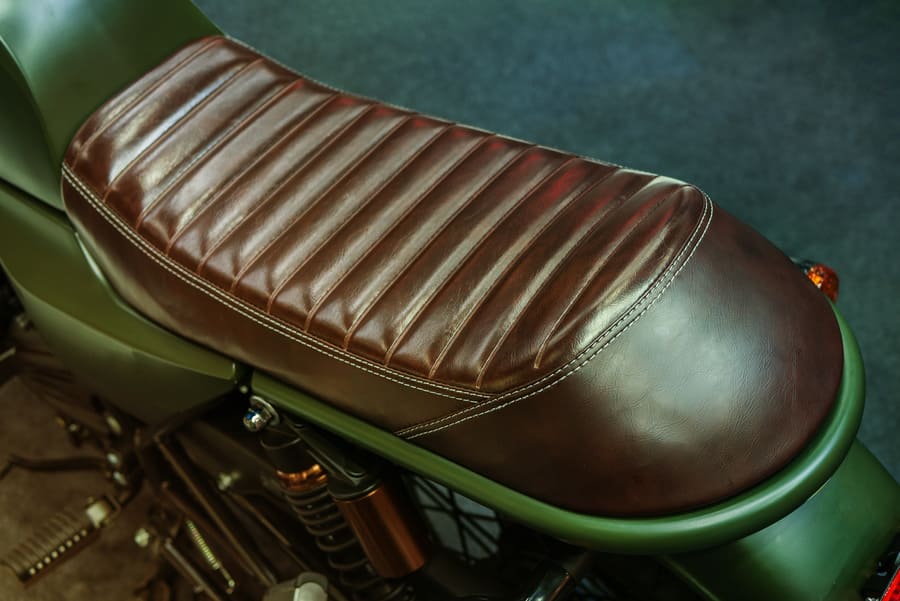
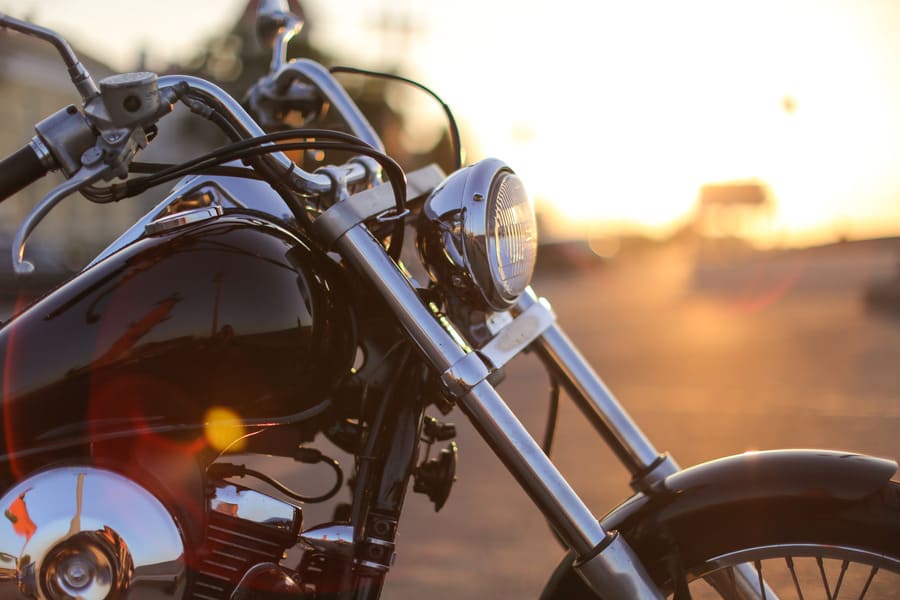
You don’t have to be an expert to reupholster a motorbike seat. You, yourself, can also deliver a result that you will be happy with. With a little time and patience, a good seat cover, the right tools, and our brief DIY instructions, you will be able to replace your worn, stretched-out, or bulging seat cushion in about one or two hours.
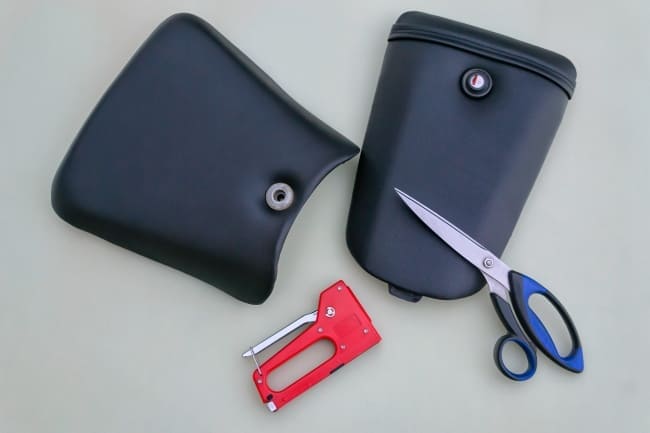
Make sure you have the right tools for the job
Of course you need the new seat cover, perhaps a piece of leather, or imitation leather. Be sure to use the old cover as a template. You can choose a material that suits your motorbike style and taste – think buttons, pleats, logos, or multiple colours. If your seat used to have pleats, you will realise what a huge amount of work that was. Replacing a seat like this with another cover like this does not make sense. You should choose a smooth one instead.
If the foam needs to be fitted or reworked, that’s a different artform altogether. As long as you don’t have to customise too much, a bread knife works great for this. You’ll also need a variety of differently-sized staples, such as wide and narrow. Usually several types of staples are used for one seat. If you need different sizes of staples, you’ll need the staplers for those as well. This way you won’t have to “load and reload” each time.
What to consider when buying covering material
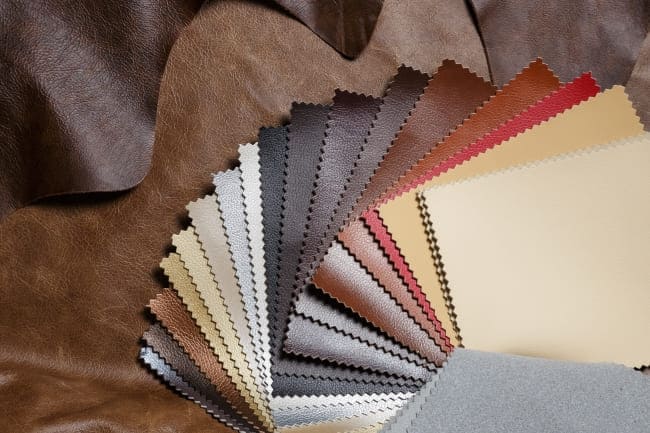
In the past, there was no question: material properties such as good tear and abrasion resistance, made high-quality genuine leather the material of choice for motorbike seat covers.
Today there are high-tech imitation leathers that are not inferior to the animal fibre in terms of look and feel. In addition, modern synthetic fibre fabrics score points for durability, longevity, and ease of care. The upholstery material consists of an innovative fibre mix: polyester, PVC and polyacrylic (PAN), applied to a robust fabric backing, enabling easy handling.
Since your motorbike will be exposed to all kinds of weather conditions – it may be a good idea to look for material which is durable, waterproof, saltwater and UV-resistant. It should also be easy to clean with household detergent and water, instead of costly specialty-care products.
Prepare the covering
The first thing you will need is warmth, and by that we mean the sun. Place the new cover or piece of leather in the sun. This will gently warm the material, and you will find that it will be much more supple to work with. Also, the leather will expand a little because of the heat.
After you have stretched the seat over the foam, it will contract as it cools so that it can be stretched a little tighter around the foam. Then, once you have your motorbike outside in the sun and the saddle cover expands again, it will stay more nicely in place because you have already stretched it with a warm covering.
Trace the shape of the seat
Take your seat pan with the foam and examine it carefully. Look for where the folds will fall. Also look carefully at where the cover needs to be round and where it needs to be hollow. This way you can determine in advance how you want to attach the cover. Follow the direction of the seat curvature and tighten the cover along it. Before you start stapling, find a good place to start with the first staple. Simply starting by stretching the cover over the foam and stapling it just anywhere will be much more tedious, and time-consuming, in the long run.
Test your stapler
Be careful and test the stapler on a similar surface to see how deep the staple will go. If the staple goes in too deep, it could penetrate the seat pan and the foam, and then pierce through the top of the cover. Of course you don’t want that, it’s not very comfortable. However, the staples should not go in too easily either, because then the cover will not be fastened correctly.
Now you can start
Of course, make sure in advance that the cover lands nicely in the middle. As mentioned earlier, begin to start tightening at this first connection point. Make sure that the staples are going in perpendicular to the direction of the cover’s tension. Use your own weight to press the foam together as you stretch it. Work with the staples from the inside out. Use the second stapler to stretch the leather or vinyl to get it pulled tight. Try to work on a soft surface, many people like to work on a piece of carpet. Don’t worry, as long as you don’t pull the cover at an angle, it will never actually be too tight.
If at first you don’t succeed… .
Be patient, but critical, of your own work. If an unwanted fold ends up in the cover, it may well become a bit annoying after a while. You can simply loosen the staple with pliers and try again. Does the vinyl or leather stick out too far beyond the staple? You can simply cut it off with a razor knife, but be careful not to cut yourself. You could also look for an old used seat to practice on – an old bicycle seat is the easiest. From a professional point of view, it requires more technical know-how to upholster an antique armchair than to cover a motorbike seat – after all, a motorbike seat has a simple design without any treacherous pitfalls for the hobbyist.


Comment